I’m a great Instagram lover. As well as sharing photos of my own home and others that inspire me on my page @hornsby_style, I love looking at the other people’s pages for interiors inspiration. As well as this, the UK interior Instagram community is a fabulous place to chat toother interior lovers, get ideas for my own home and find wonderful small businesses to buy from.
Instagram does, however, have quite the opposite effect on some. In a recent pollcarried out by Origin, over 50% of those asked felt dissatisfied with their homes after looking at images of other people’s houses on Instagram, with an incredible 83% of those feeling this way more than once a month after scrolling through Instagram. But of course, it’s not everyday reality you’re seeing in those little squares. For a while there was this myth surrounding interiors influencers on Instagram that everyone lived in homes that were almost perfect with not a cushion out of place or a dirty coffee cup to be seen. However, of course this is not the case for most and certainly not for me with two teens and a tweenager in the house! So, when I saw that Origin were leading an #OriginInstaReality campaign, I was more than happy to support them.
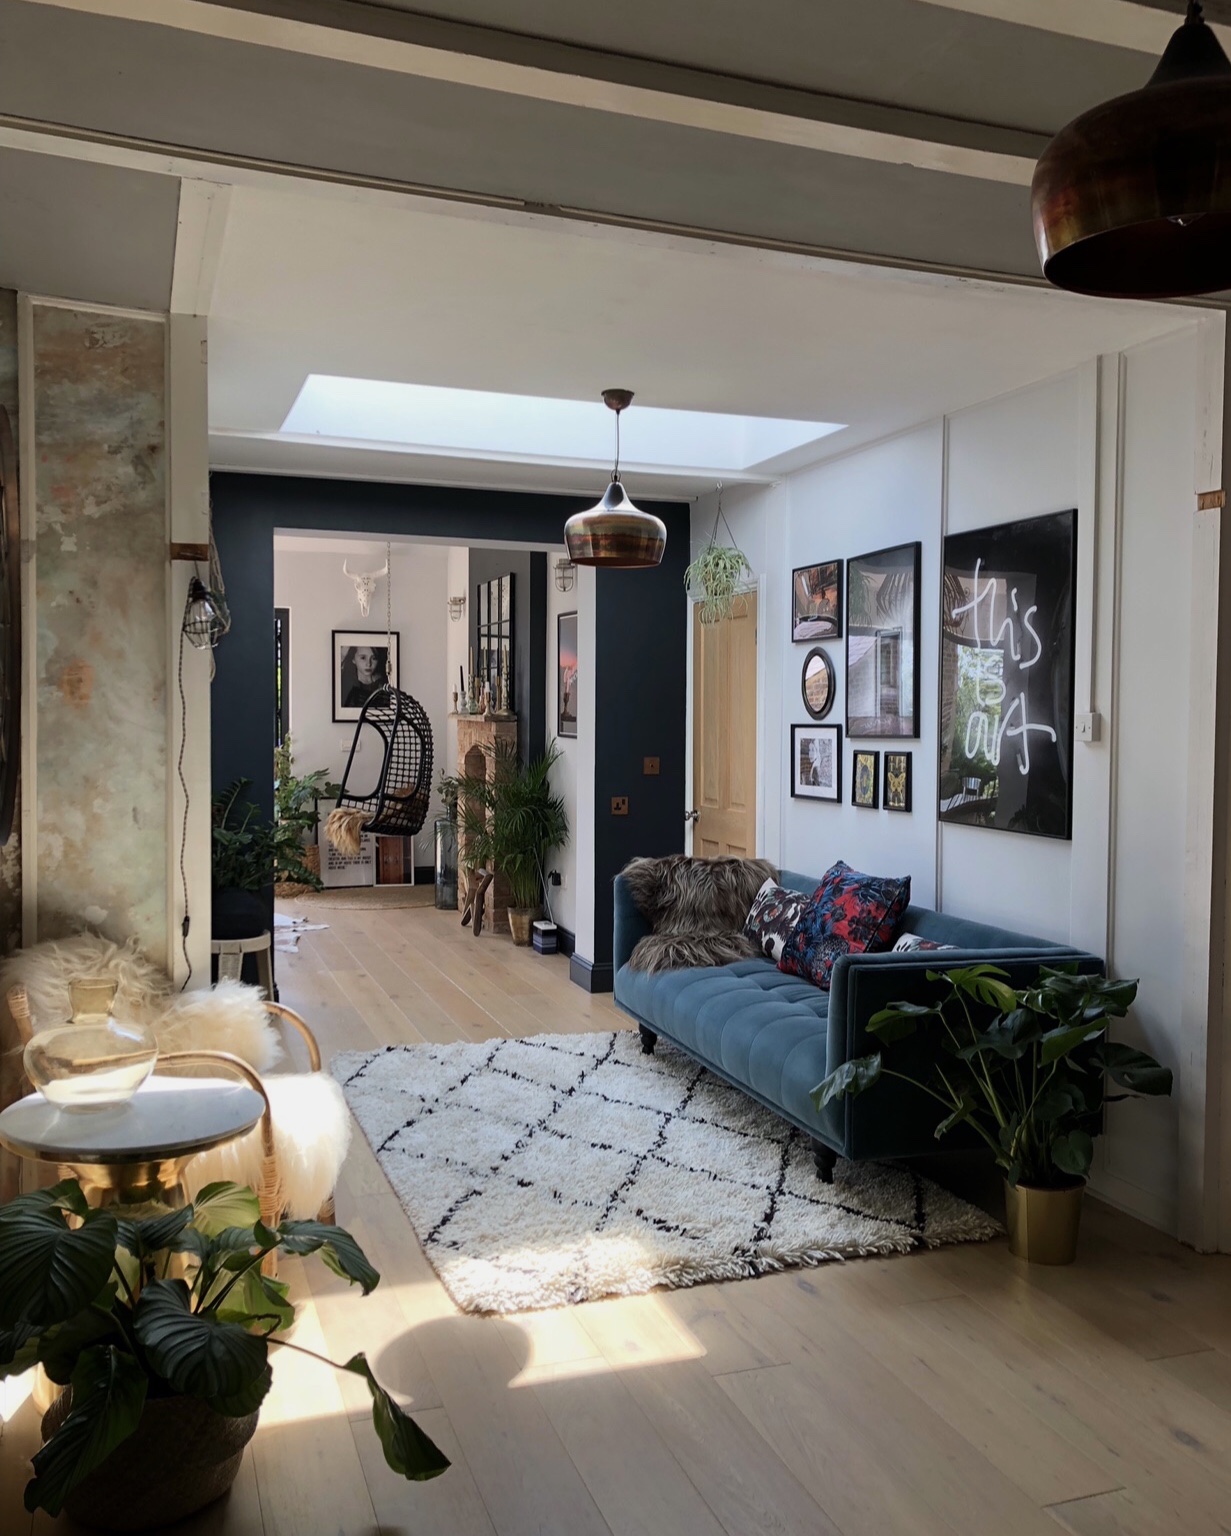
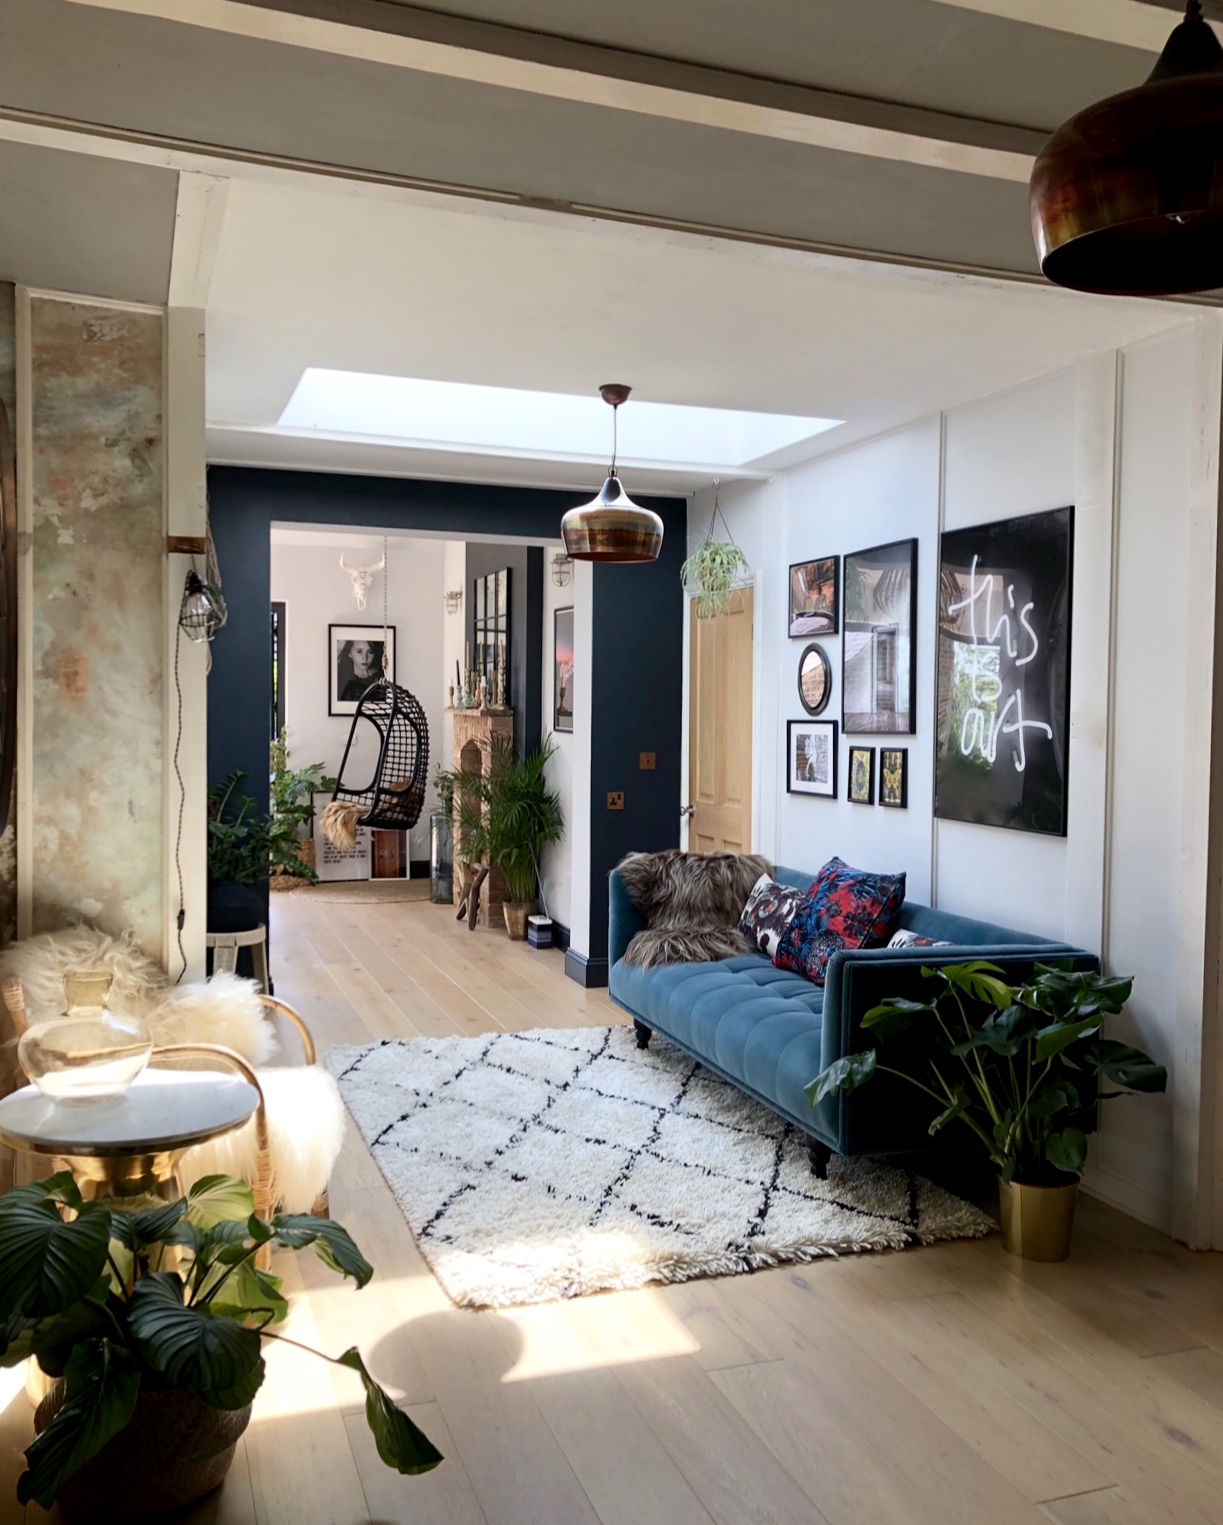
So, how to get the perfect ‘Insta Home’ shot? Let’s be honest, getting a clear, well-lit, beautifully composed shot isn’t as easy as just pointing your phone and hoping for the best. So, here are 5 tricks and tips I use when photographing my home
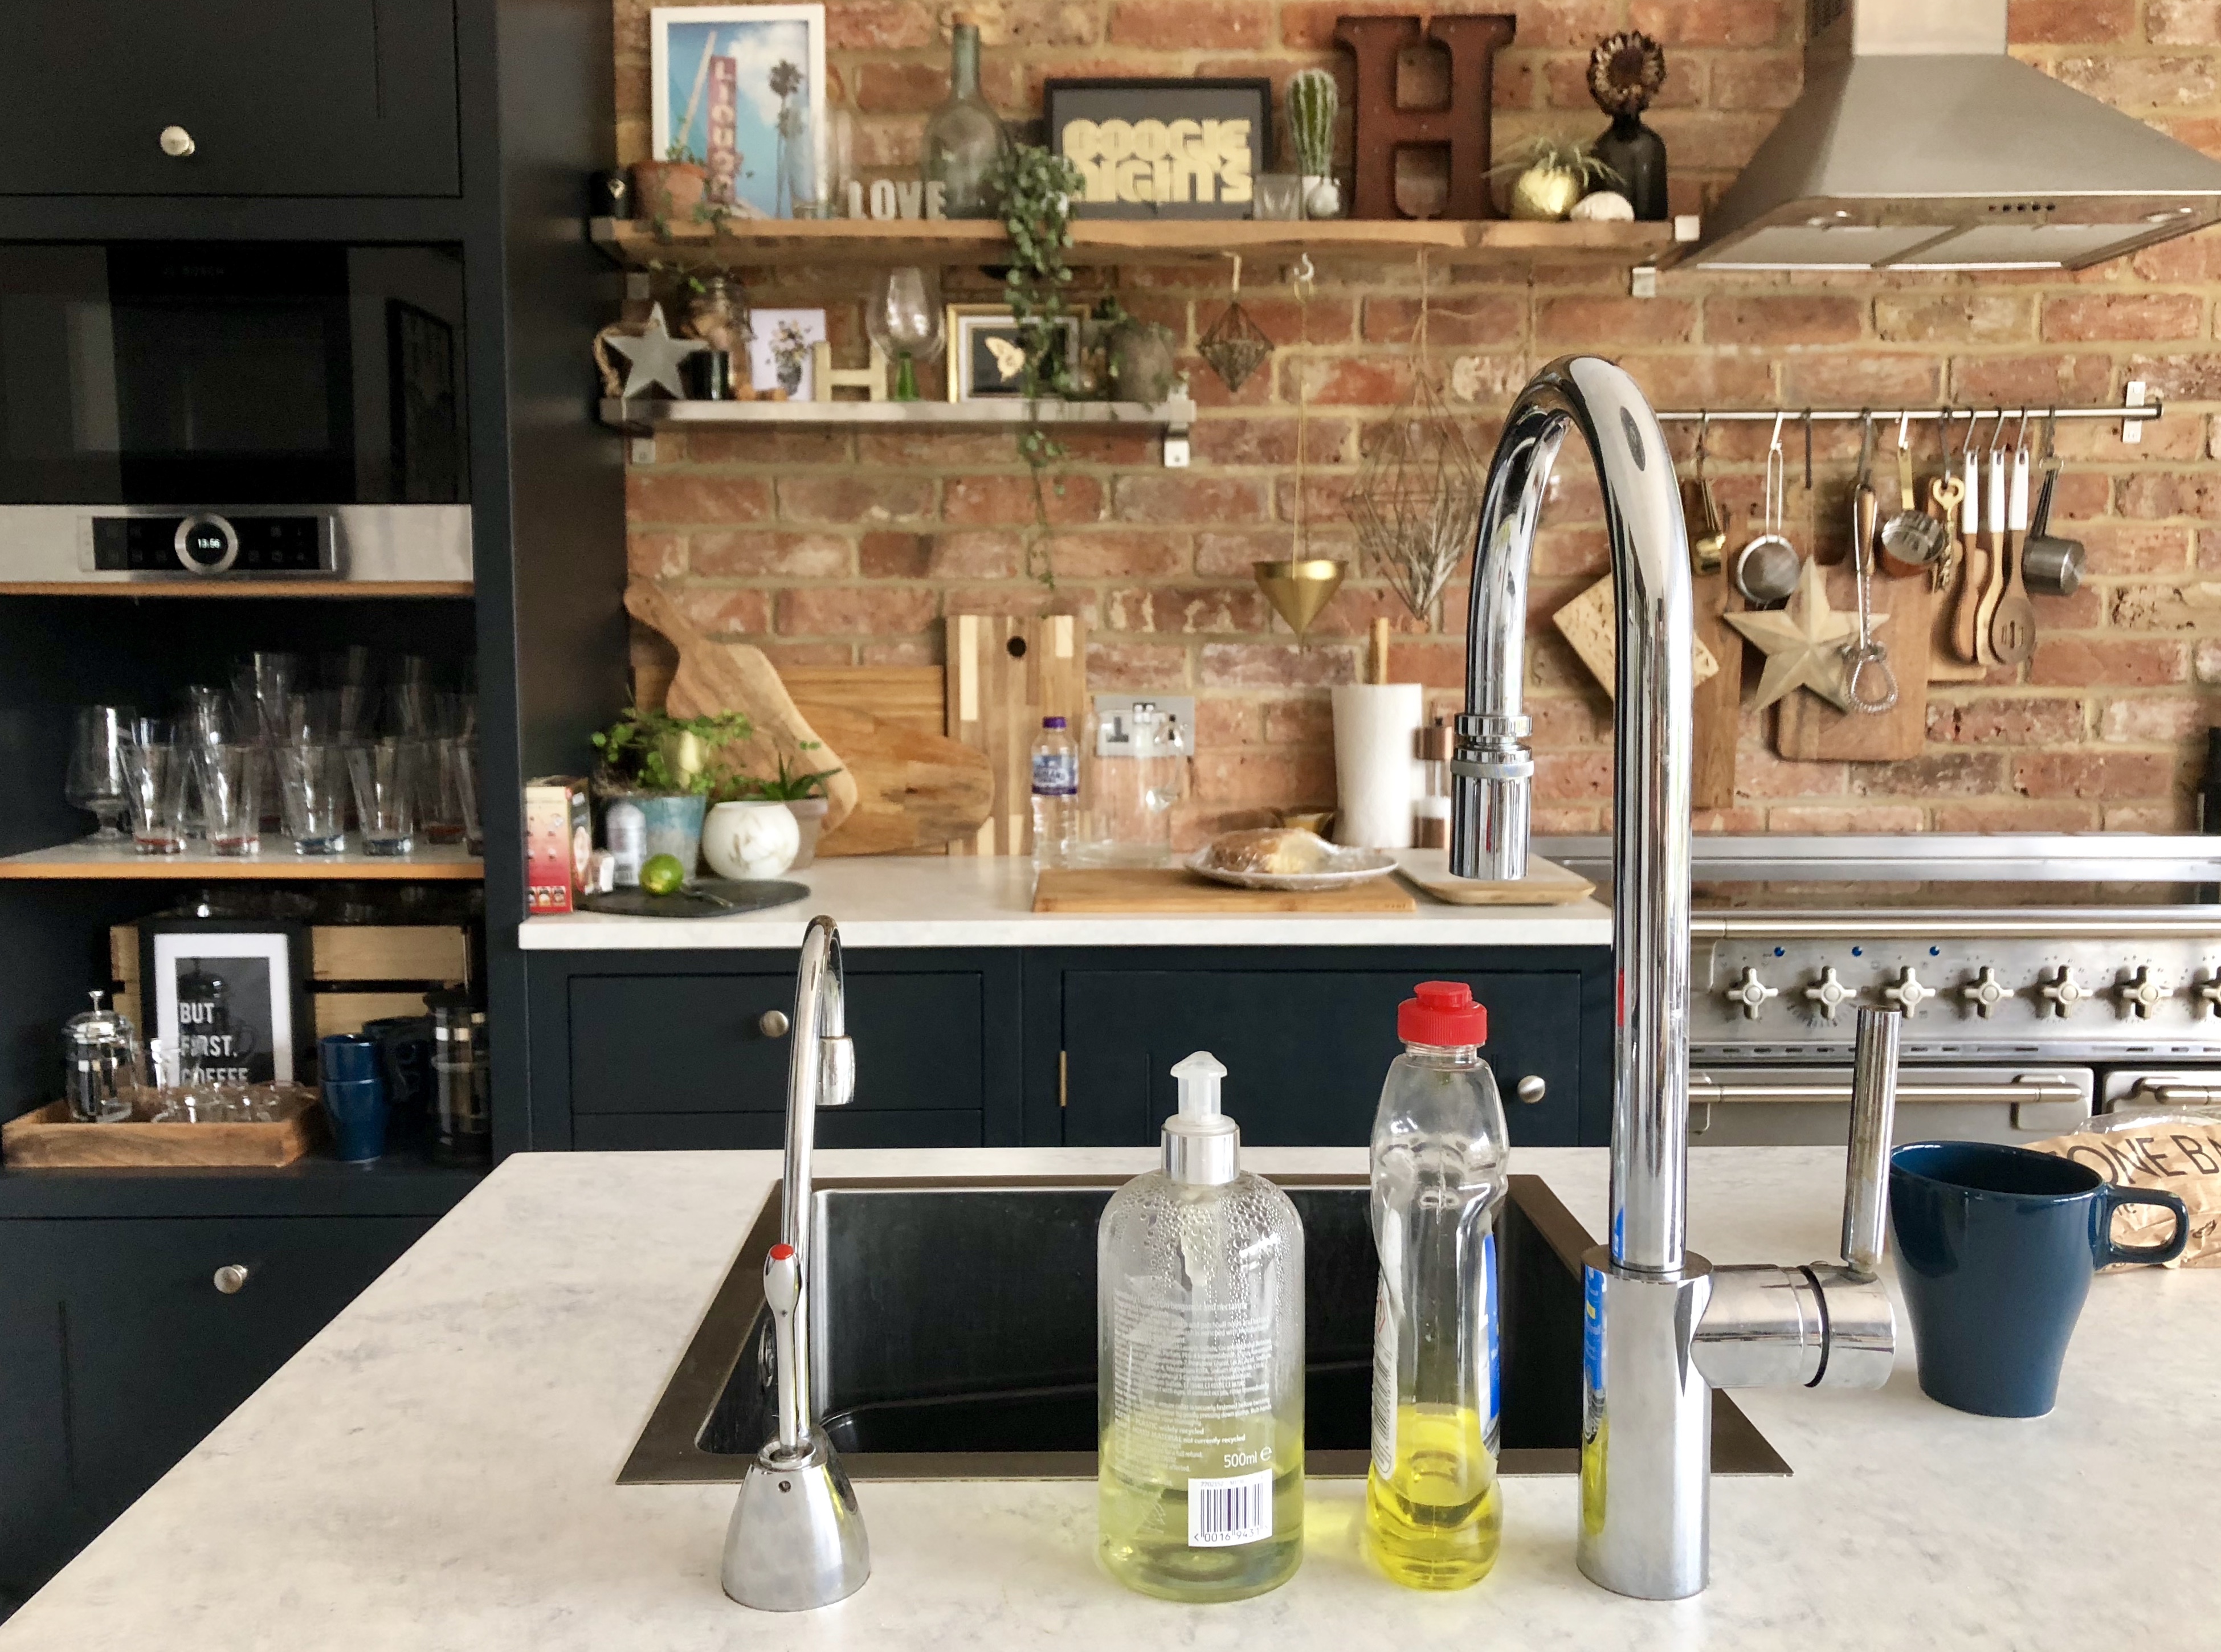
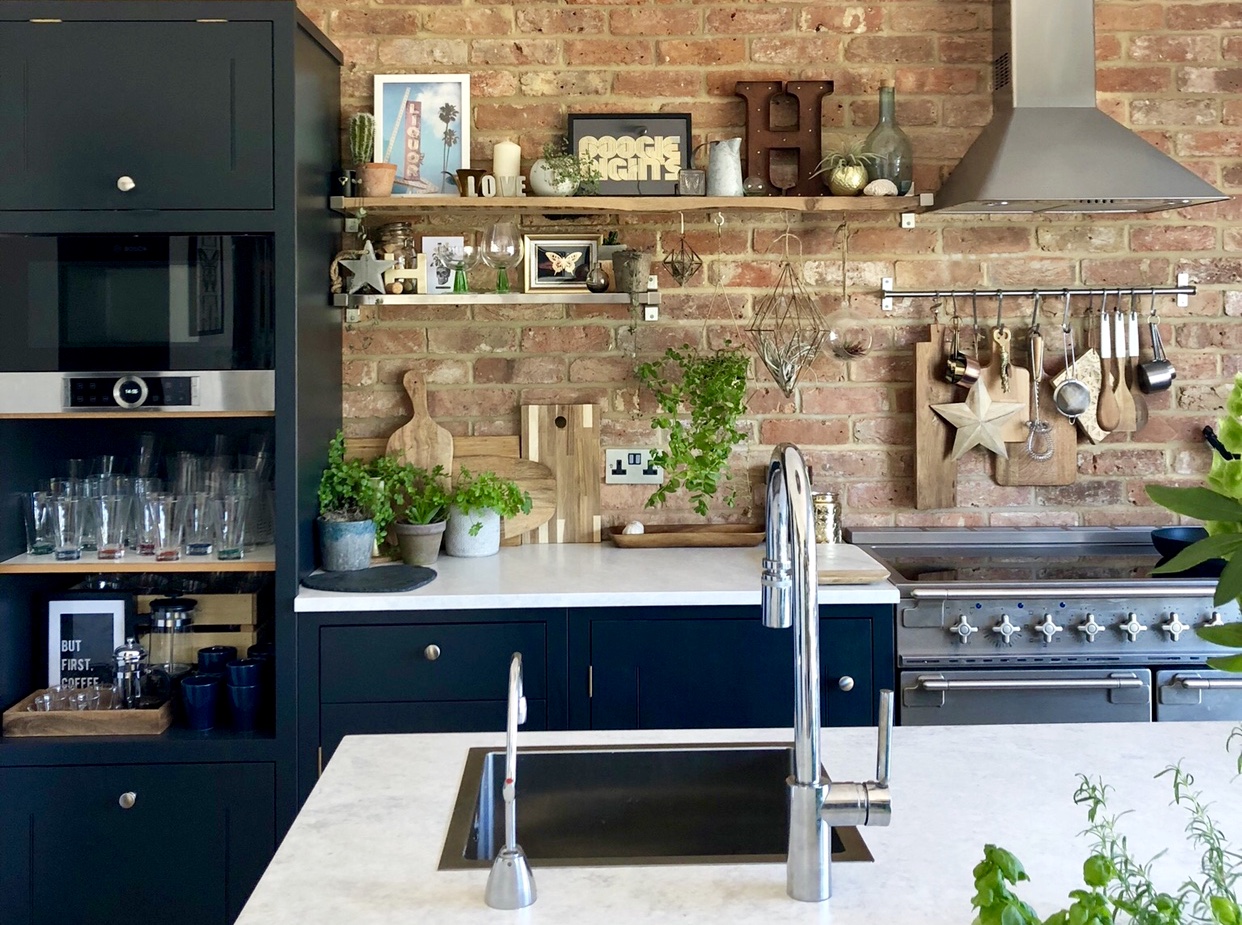
1. De-clutter
Remove everyday objects such as dirty cups and food on countertops in the kitchen, handbags on chairs, remote controls in the sitting room, shoes in the hallway and all of those plastic containers in the bathroom. After all, this isn’t about the reality of day-to-day living and seeing which shampoo or coffee brand you use! Don’t go mad though and remove all of your personality from the room, it should still look like you live there, people want to see a bit of ‘you’ in your home on Instagram.
2. Lighting
Natural light is always the best option when photographing interior spaces. Artificial light can give the space a yellow or blue tinge and won’t show the true colours of the room. On a sunny day opt for when the sun is high and lighting the room and try to stay clear of the times when the sun is coming directly through the windows as this can create glare and large shadows. If there is not enough natural light in the room, open doors to allow natural light in from other areas. Once you’ve got good light, use the built-in features on your phone to adjust the exposure until you’re happy that you have a sharp, vivid photo.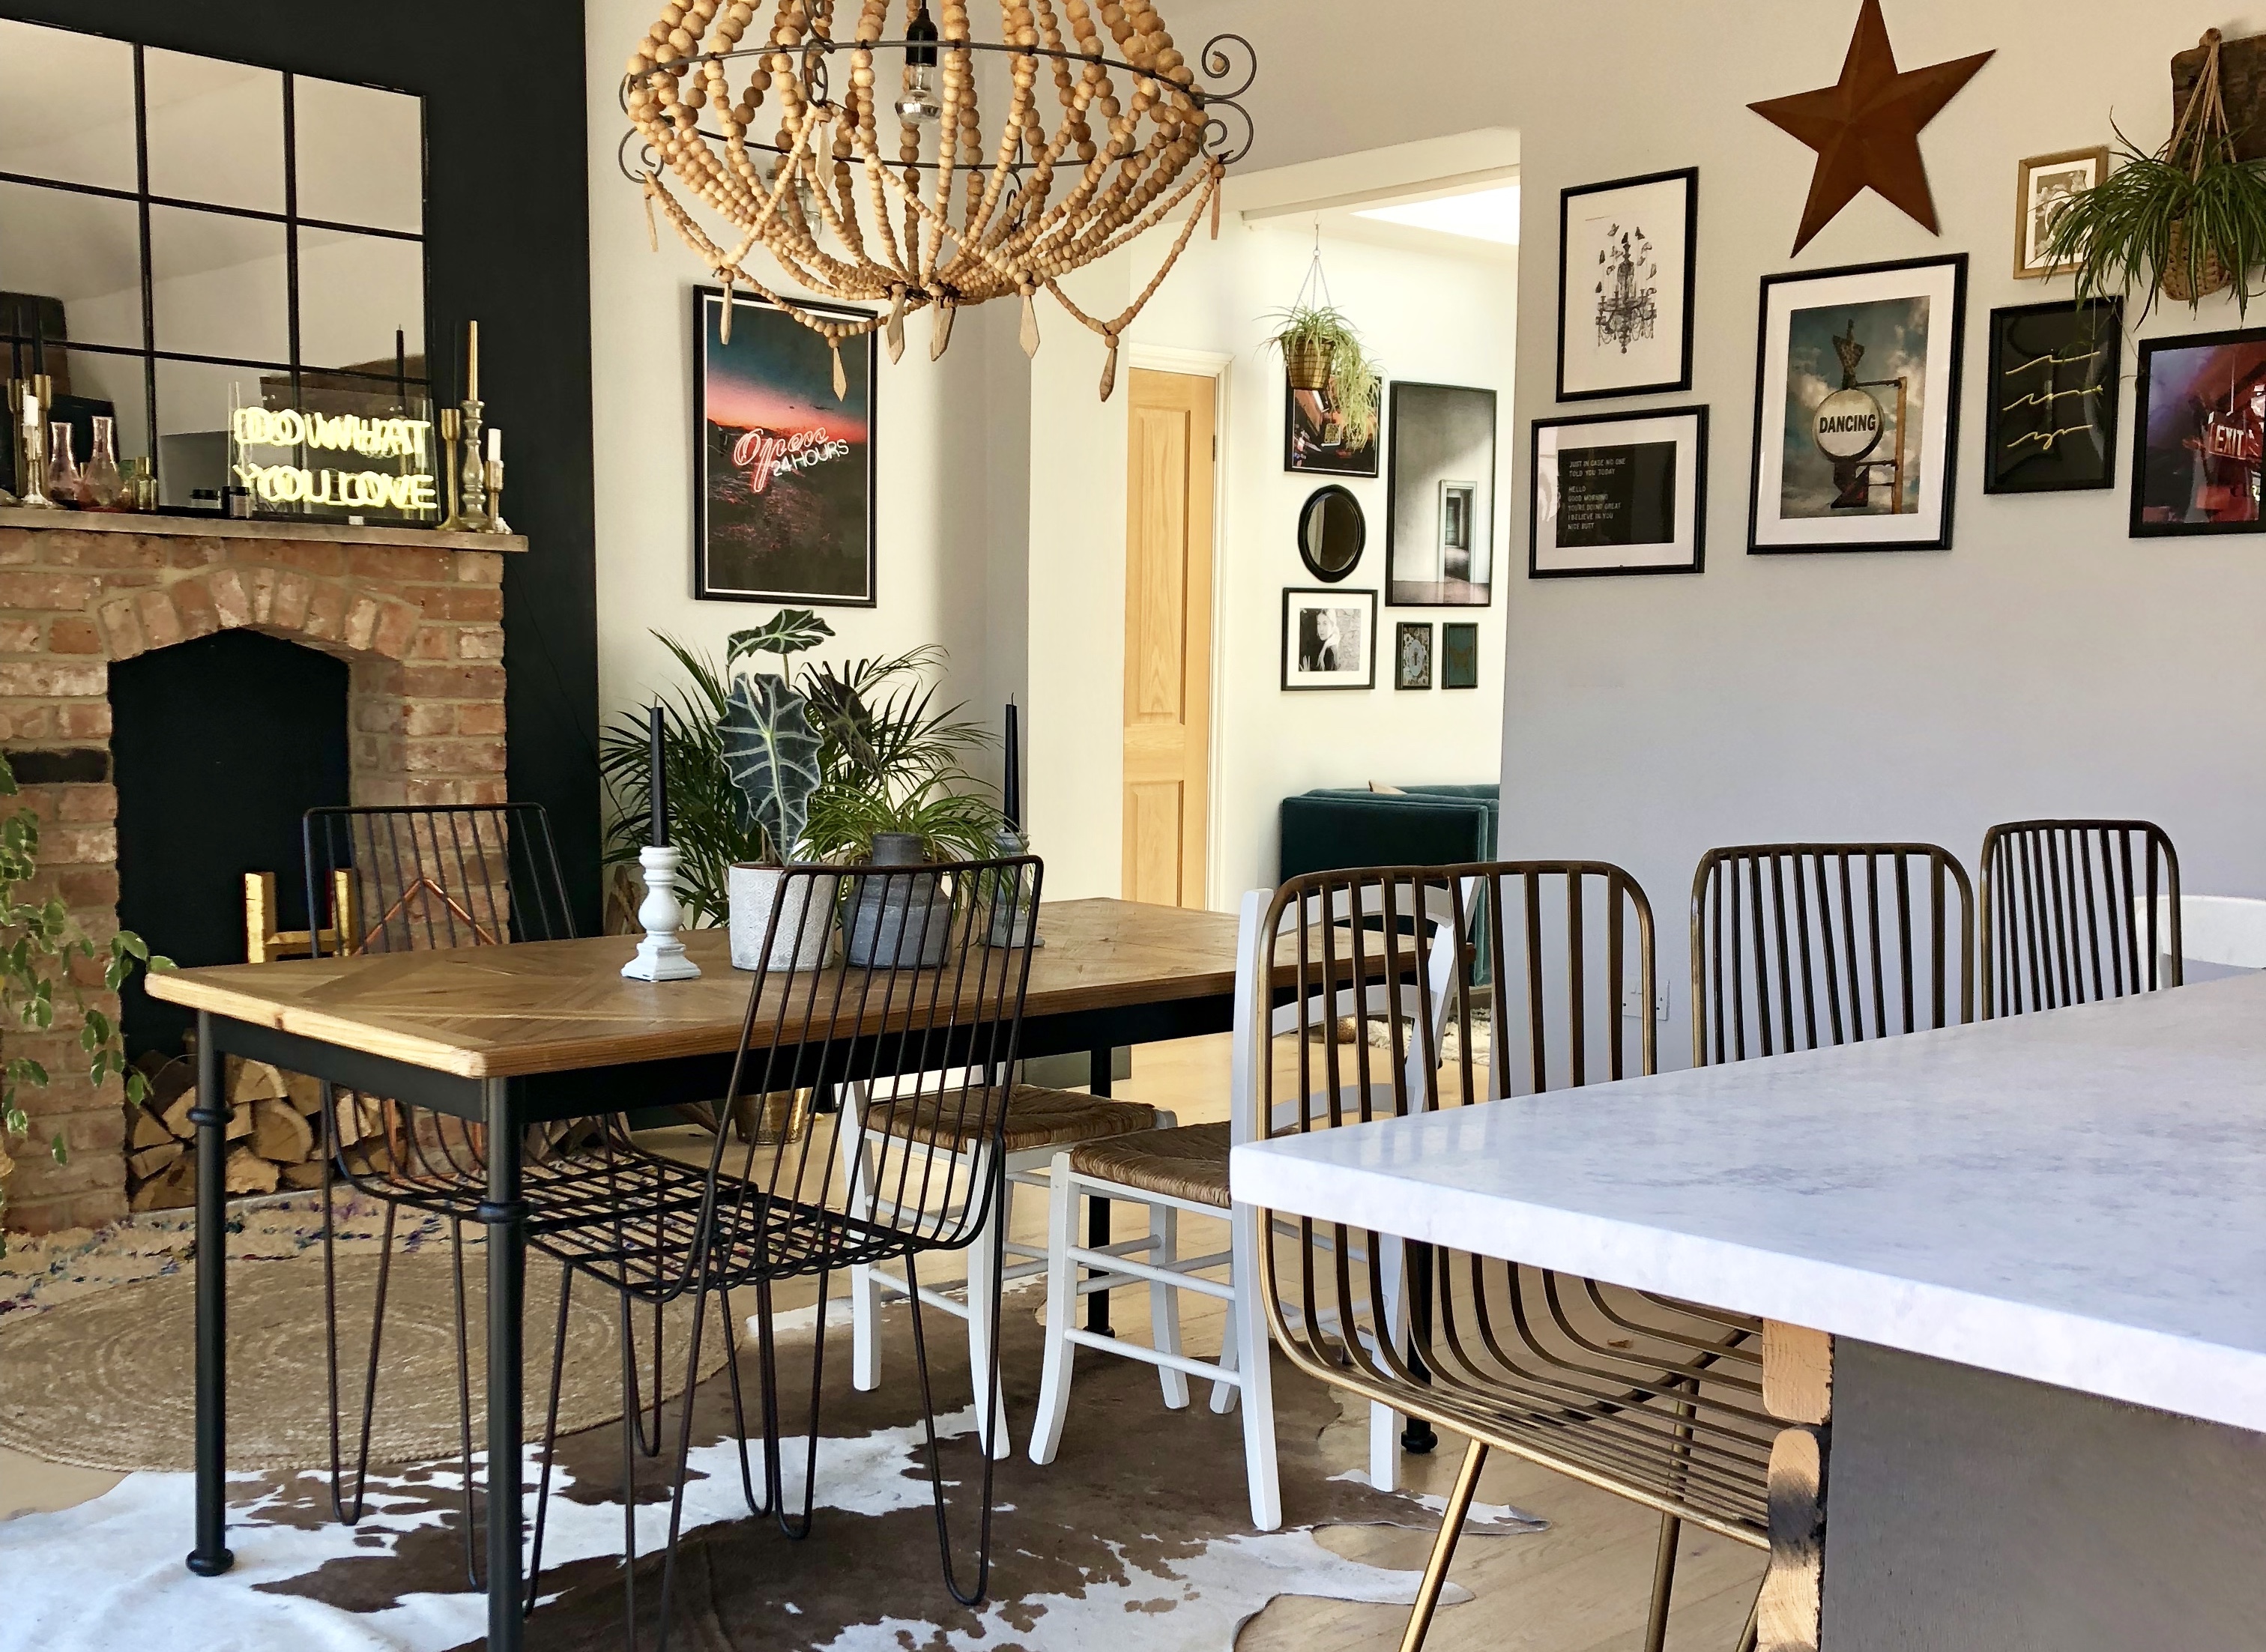 3. Styling
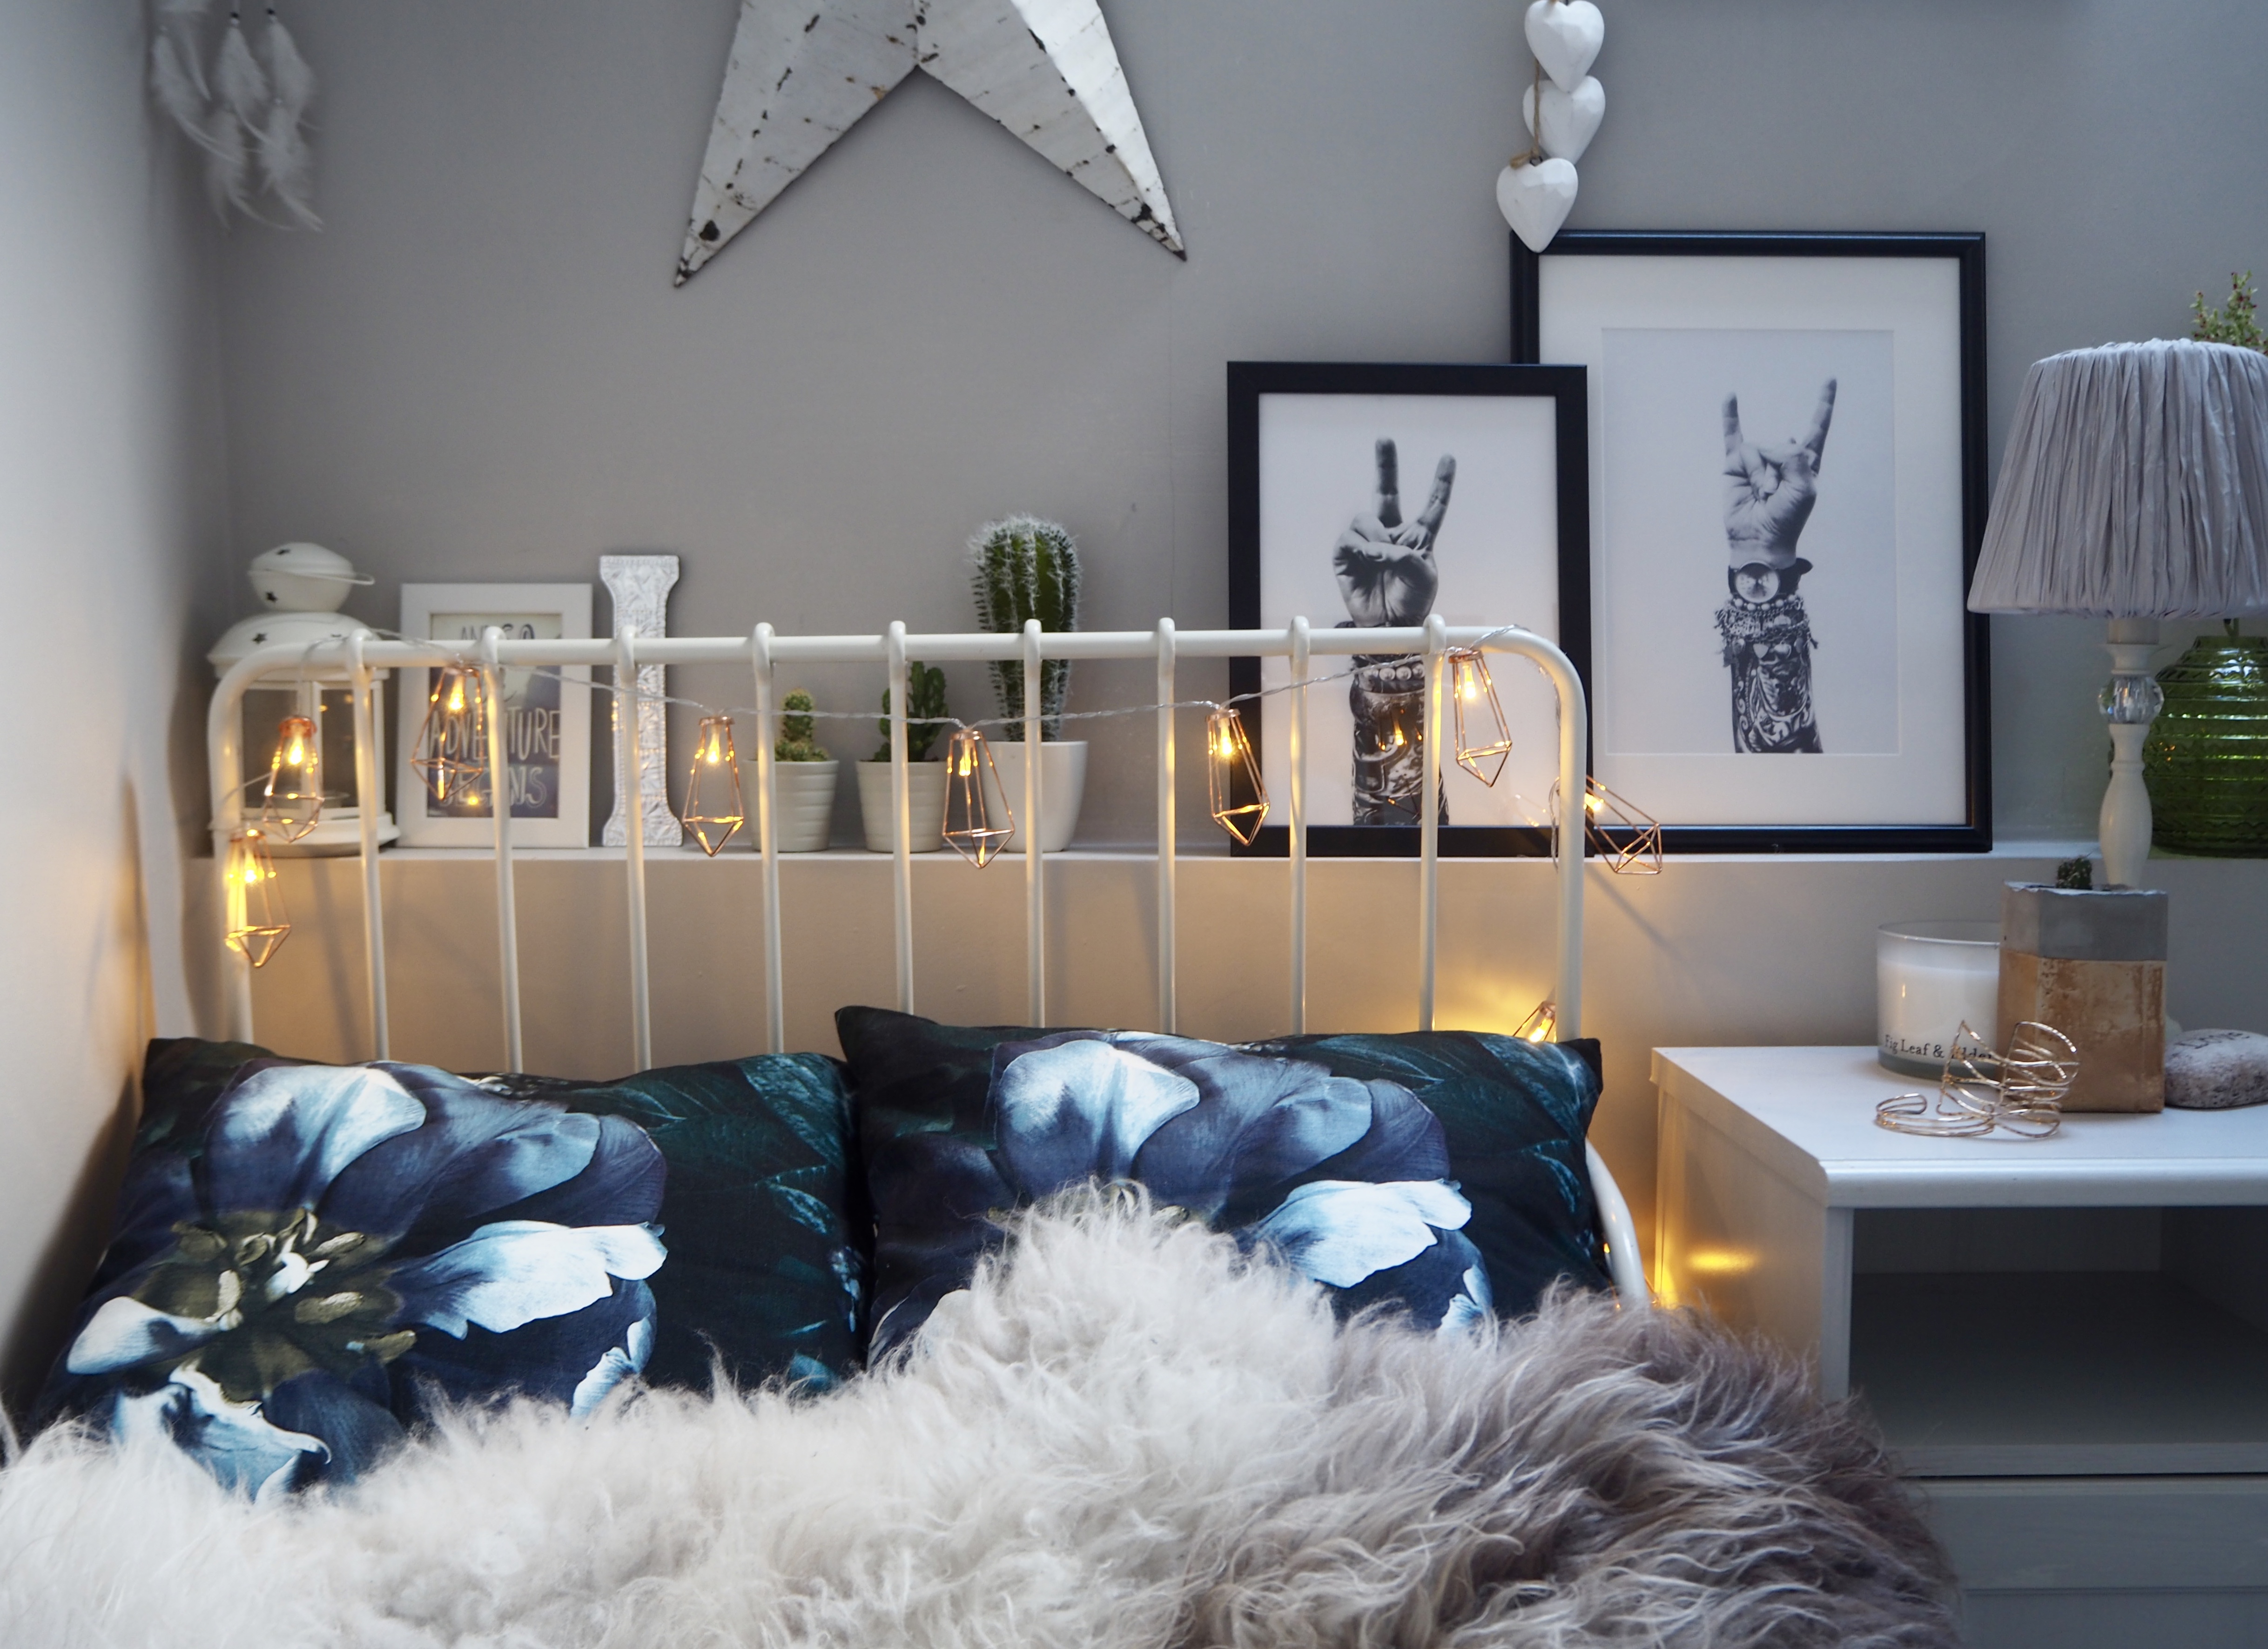
The key here, I think, is not to ‘over style’. No one wants to see a perfectly staged home; there still needs to be some of your personality there. My go-to props for styling my own home for photographs are plants, soft furnishings and artwork. I have lots of rugs in my home but if they’re not showing up enough in a shot I move them over. I also have a lot of plants, but they may not be in the right spot for that particular photo, so I’ll move them or swap them about so that they are in shot. Layering cushions and throws on a sofa and including art and textiles in a shot can really add wow factor to it.
It is important to remember that styling the perfect photo is about taking away as well as adding to it. For example, if the table in my kitchen is coming into a shot and I don’t want it to, I’ll move it back to the edge of the room.
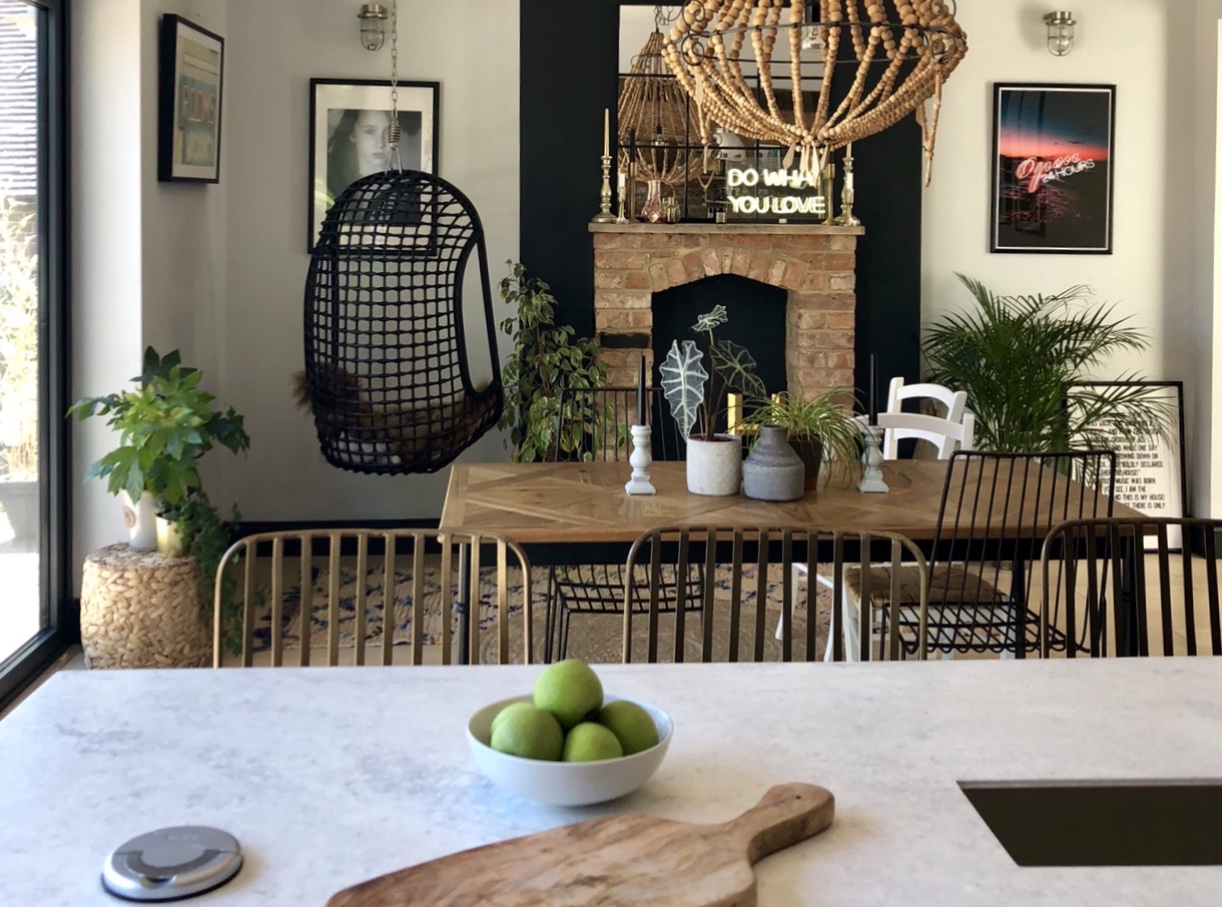
Another key tip is to make sure you allow for negative space. Remember most people look at Instagram photos on a phone screen and a photo with everything crammed in can look far too busy on a small screen.
4. Looking at the bigger picture
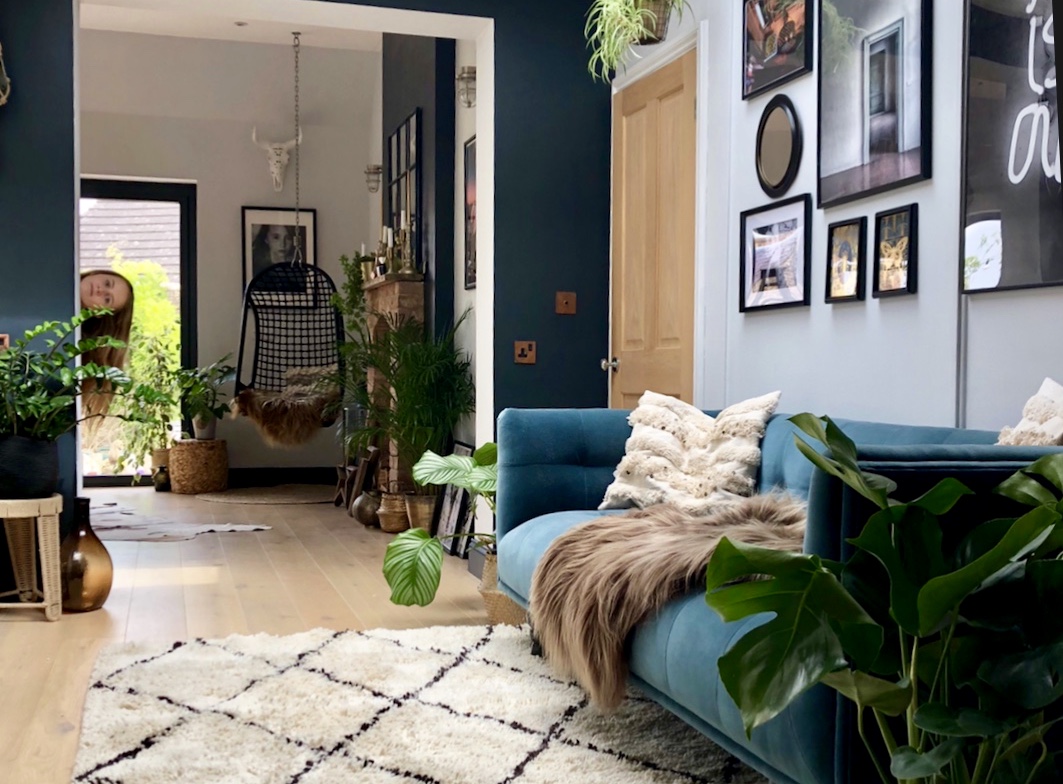
It is also worth remembering that just because a room looks good in person, this doesn’t necessarily mean it will look good in the photo - I learnt this long ago as a stylist! The only way to find out is to take the photo and see how it looks and move props as necessary. At this point you may well see things in the photo that you had missed whilst concentrating on your main shot too… There has been many a time when I’ve taken a photo and seen the hoover, for example, in the hall through the doorway! To take a great interior photo your camera should be at waist level or at mid height within the room, use your camera grid to get the horizontal and vertical lines straight and avoid distortion and, of course, keep your phone steady to focus.
 5. Make edits
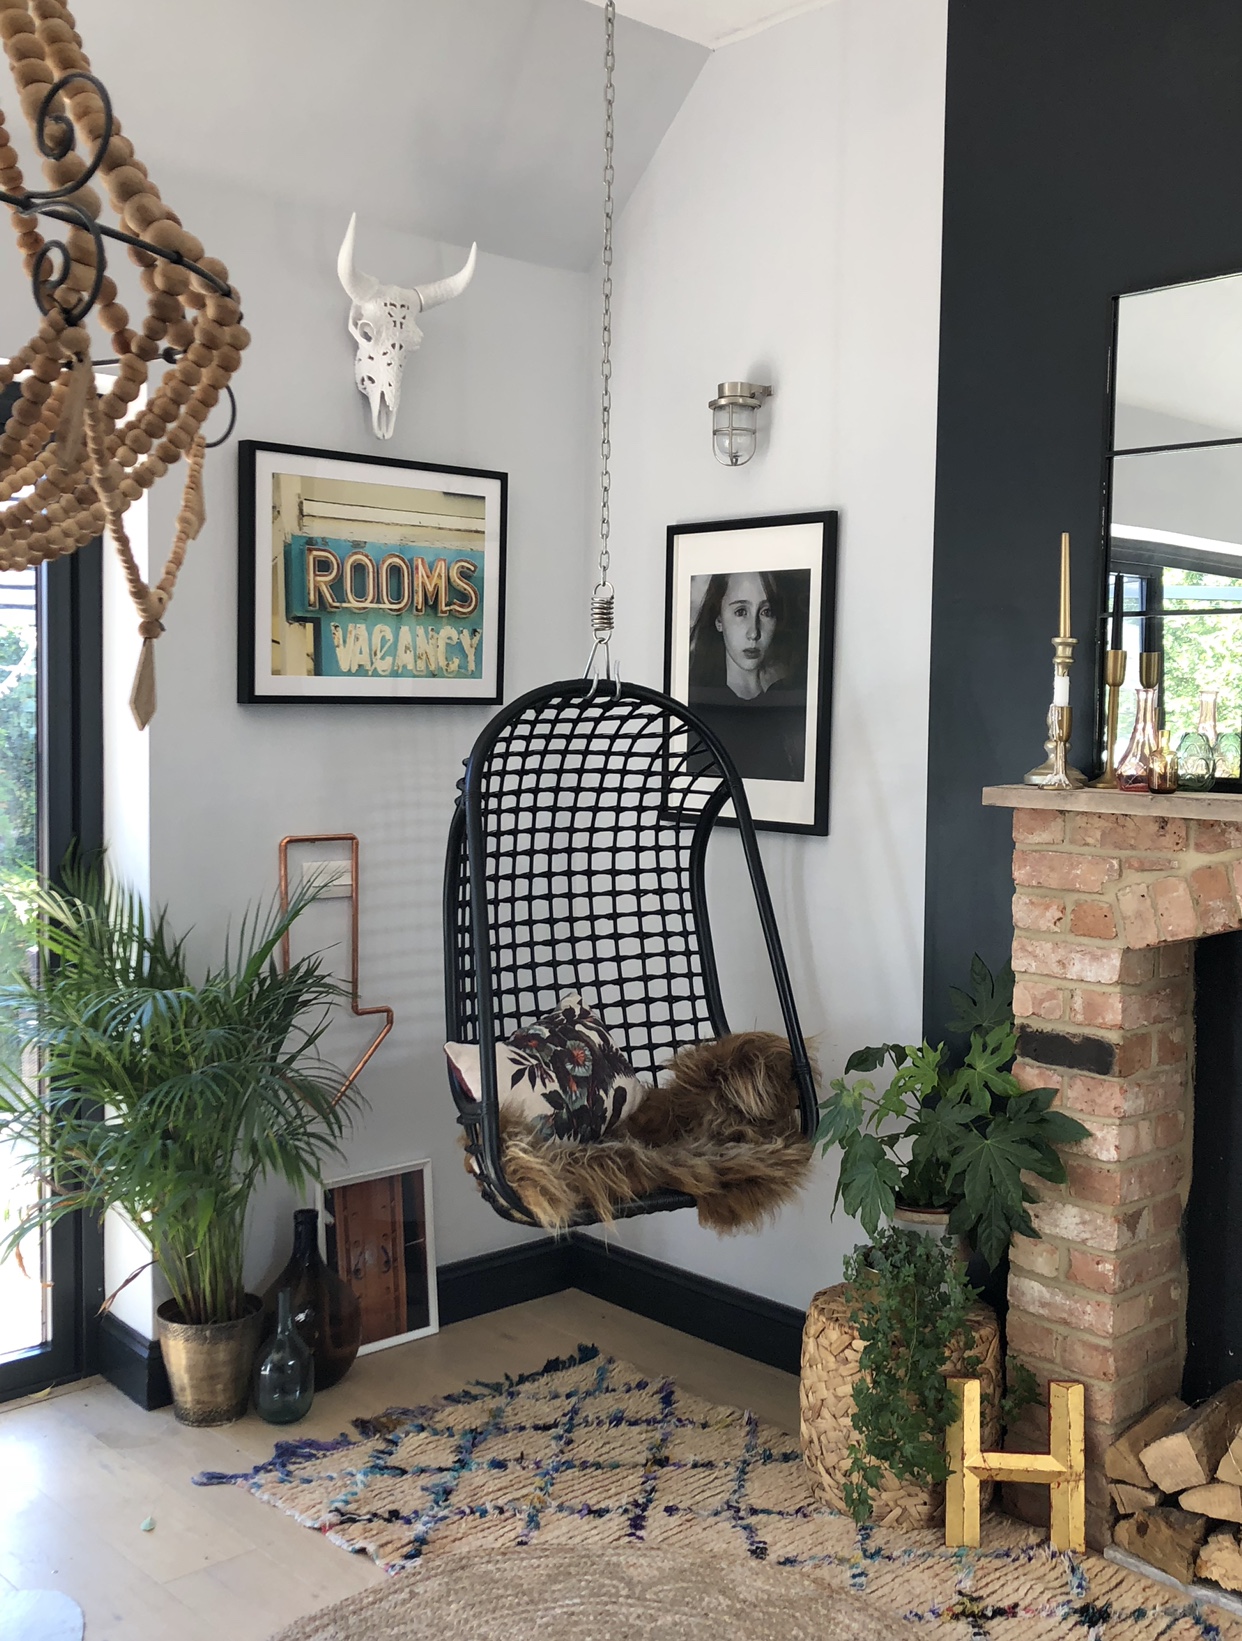
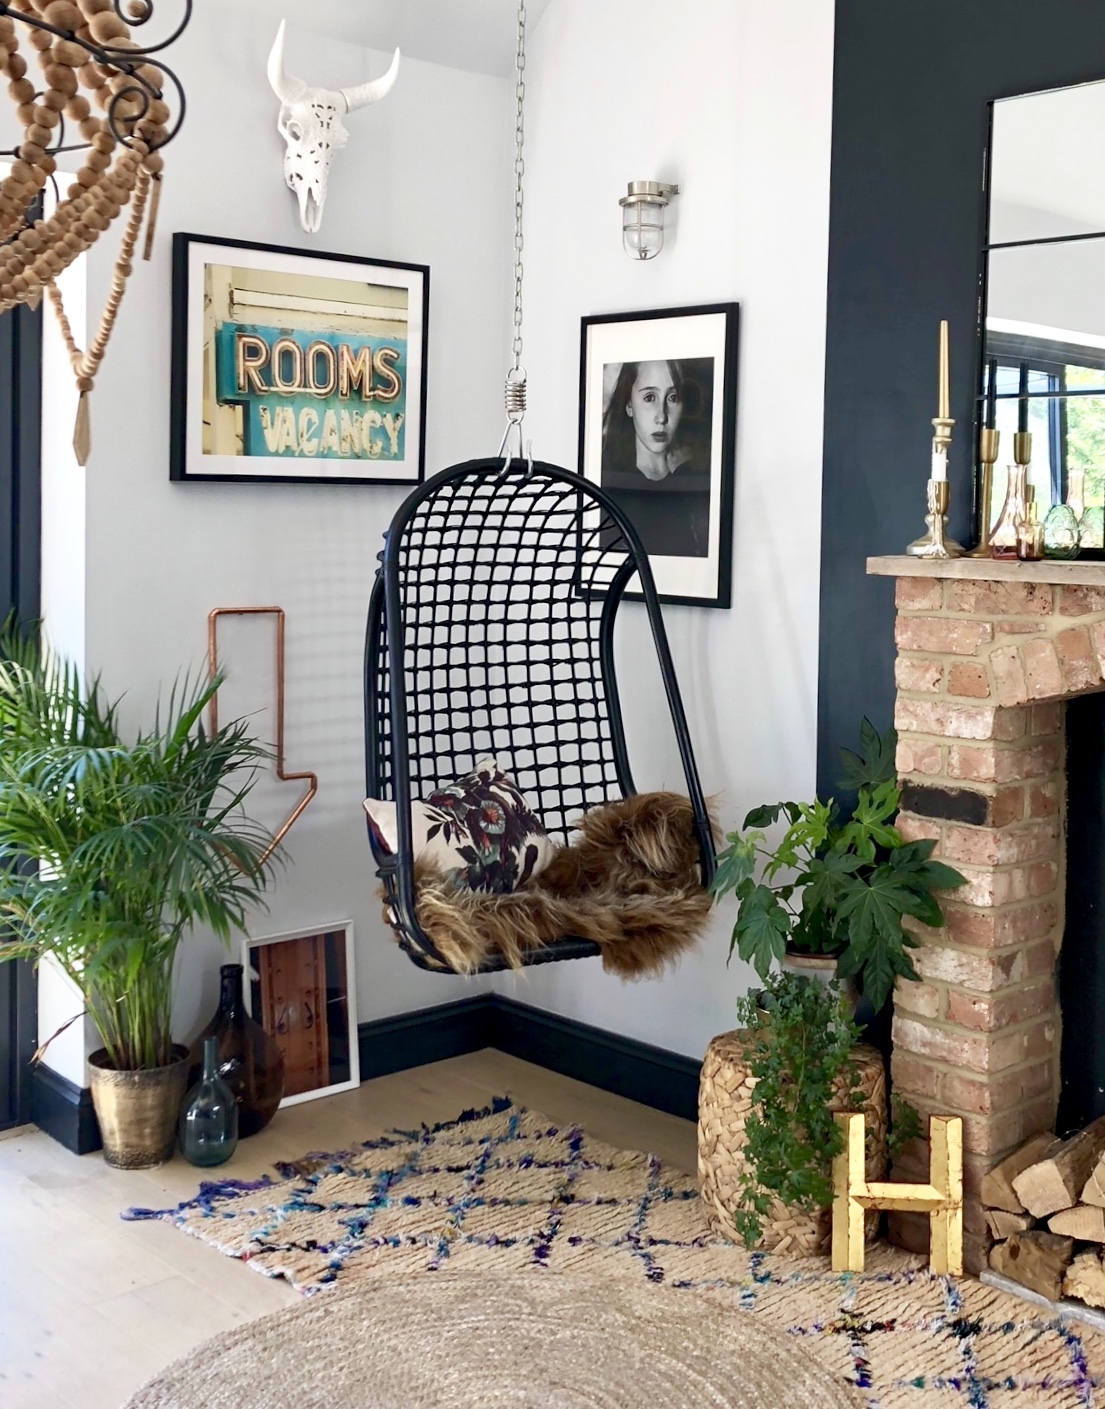
One of the great things these days is how easy it is to edit your photos. Instagram has some great editing tools built in and, of course, their own filters. If your photo needs to be a bit brighter, you need to remove some of the warmth or need to add contrast, the tools are all there at the touch of a button. These are the three image editor tools I tend to use on Instagram. I would say be wary of the Instagram filters unless you want a certain look and are going to use them consistently on your posts.
There are also many apps you can download to edit your shots and get filters for the look you want: VSCO is great for filters (much better than the Instagram ones in my opinion) and Snapspeed is another great app and I often use the ‘sharpening feature’ to make details stand out. How you use filters and edit your photos is all personal preference of course but you can’t go far wrong on Instagram with a bright clear image!
So, there you have it. It takes quite a few tricks to get those ‘perfect home’ shots we see on Instagram. Check out the hashtag #instareality and #OriginInstaReality to see some shots of how Insta homes look day to day, and next time you’re having a scroll be sure to look for the washing line in the background!


%202.jpg?v=639070356382123352)

